What You Need to Know Before Installing Low-Voltage LED Step Lights?
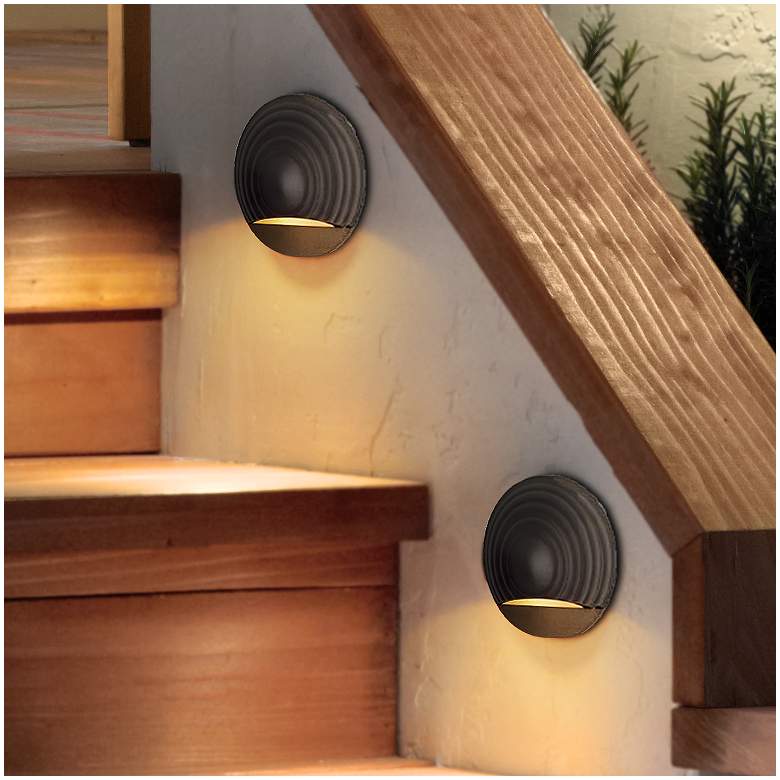
A vibrant and well-illuminated backyard can brighten up your entire outdoor landscape. With low-voltage LED step lights, you can not only add a new dimension to the exteriors but also make the area safe and usable after sundown. They keep the walkways, stone walls, ramps, and concrete decks illuminated with a soft glow. If you have decided to use LED low-voltage lights for your outdoor space, here are few things to know before getting started.

Why Should You Choose Low-voltage LED Lights?
The first and foremost reason is the safety of your premises after dark. If you have proper illumination, you can be assured that your area will be more protected from intruders.
Being low voltage fixtures, the LED Step Lights are easier to install and require a transformer, low voltage cables, and fixtures to set up. Installing low voltage cables is much safer and easier than installing 120V lines and can be done by the home owner.
Low-voltage step lights are a cost-effective option when compared to line voltage system. You may need cables, transformers, and LED light fixtures that cost more than incandescent lighting. But, LED lights consume much less electricity over time and last much longer (up to 50,000 hours). As a result, utility bills will be much less and the expense for replacing light bulbs will be reduced by far.
LED lights are visually aesthetic which makes them a de facto choice for homeowners. You can find options with attractive colors and lighting effects to create an intricate lighting system in your backyard.
What Components Are Necessary for Low-Voltage Step Lighting?
The low voltage LED step lights come in a variety of colors, sizes, and styles. You can choose the perfect combination that suits your outdoor architecture. No matter what style you choose, each light comes with some basic parts that include:
- A transformer that powers the illumination when plugged in a protected electrical outlet. It can reduce the standard 120-volt current to 12-volt for landscape lighting.
- Lighting fixtures that suit the requirement of your outdoor space. Choose the fixtures with a metal or composite casing for longevity.
- Low-voltage electrical cables that connect light fixtures and transformers.

What Does the Process Installation Entail?
Typically, the installation process begins with planning the layout of LED lights in your outdoor space. The time and number of steps for installation may vary depending on the overall results you expect. The major steps in the process are:
- Laying down the cables
The first step in the installation of low-voltage light is laying the fixtures at spots where you want them. Keep each fixture about 8-10 feet away and lay the electrical cable beside each of them.
- Installation of transformer
The transformer can be fixed on a wooden stake or an exterior wall. It is a simple act which you could do yourself or hire professionals.
- Installation of the lights
Depending on the type of light fixture, follow the instructions that come with the fixture to make sure the installation is done properly and according to the manufacturer’s guidelines.
- Connecting the Fixtures
Connect every fixture to the cable and when everything looks fine, fill the trench with topsoil. Low voltage cables do not need to be buried deep in the ground, a few inches deep should be sufficient to protect the cables and for aesthetics.
These are the basic steps for the installation of low-voltage LED lights in your outdoors. Keep all these points in mind for a wonderfully illuminated space.
